On Windows, you can change this option from the Control Panel.
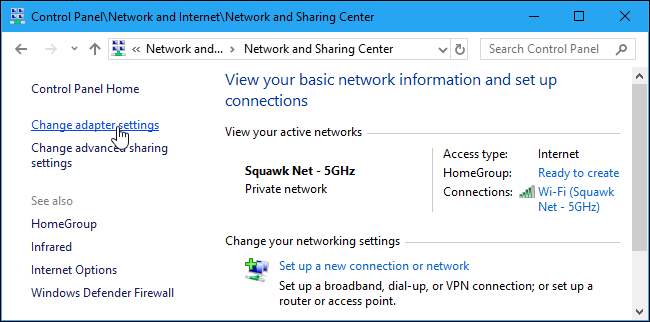
Head to Control Panel > Network and Internet > Network and Sharing Center > Change adapter settings.
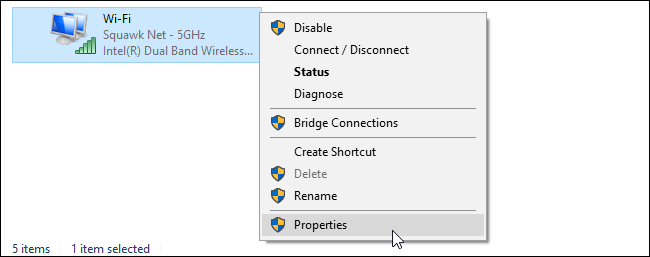
Right-click the network connection you want to configure and select “Properties”. This option must be changed separately for each connection you want to change it for. This means that, if you have a computer with both Wi-Fi and wired Ethernet connections, you’d have to change it for both your Wi-Fi and Ethernet adapters if you wanted to change the DNS server for both.
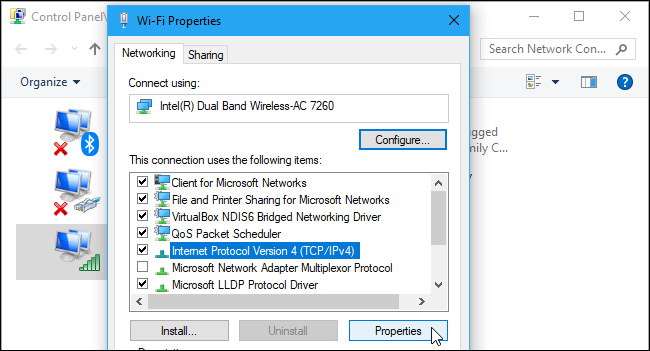
Select “Internet Protocol Version 4 (TCIP/IPv4)” in the list and click “Properties”.
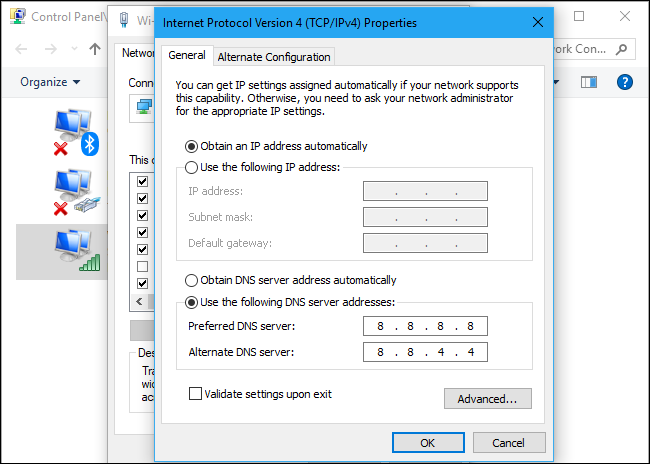
Select “Use the following DNS server addresses, enter the addresses of the DNS servers you want to use, and click “OK”.
Mac
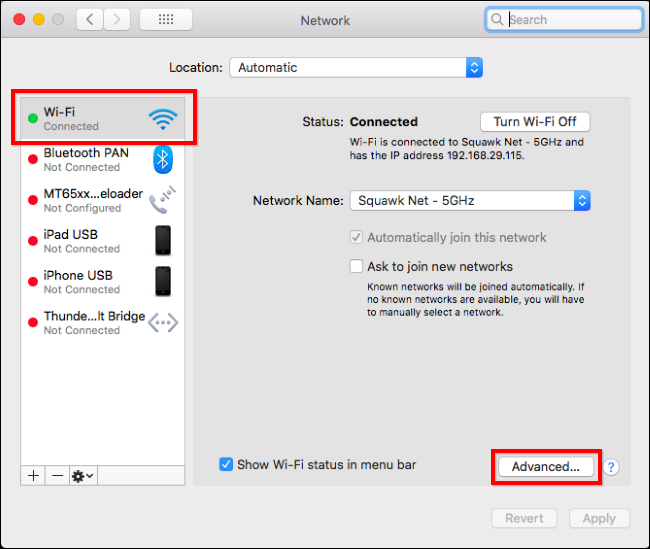
To change the DNS server on your Mac, head to System Preferences > Network. Select the network adapter you want to change the DNS server, like “Wi-Fi”, on the left, and then click the “Advanced” button.
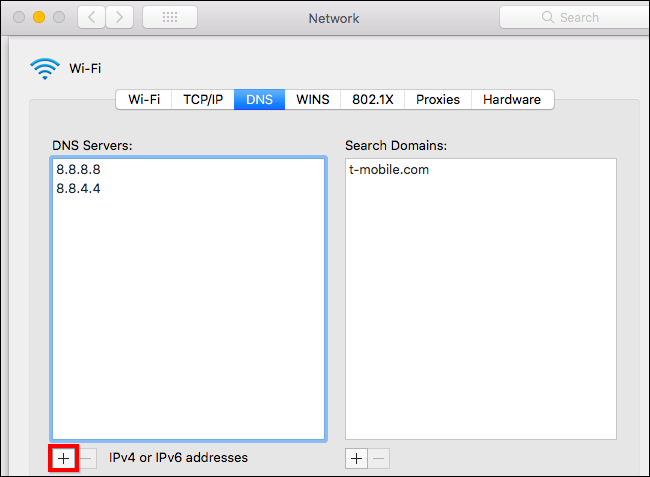
Click over to the “DNS” tab and use the DNS Servers box to configure your desired DNS servers. Click the “+” button at the bottom and add IPv4 or IPv6 server addresses to the list. Click “OK” when you’re done.
iPhone / iPad
Apple’s iOS allows you to change your DNS server, but you can’t set a preferred DNS server system-wide. You can only change an individual Wi-Fi network’s DNS server to your custom setting, so you’ll have to do this for each Wi-Fi network you use.
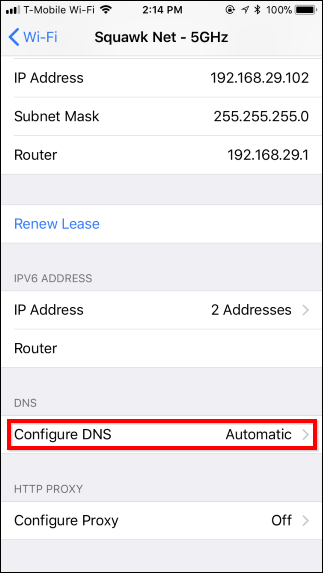
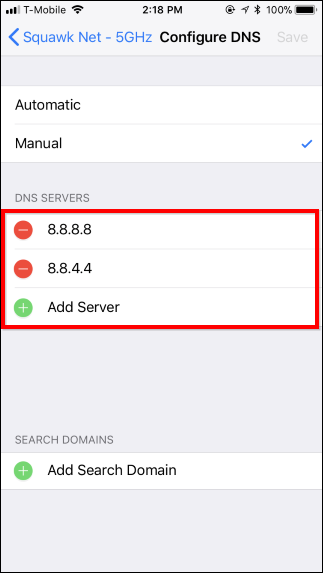
To change your DNS server on an iPhone or iPad, head to Settings > Wi-Fi and tap the “i” button to the right of the Wi-Fi network you want to configure. Scroll down and tap the “Configure DNS” option under DNS.
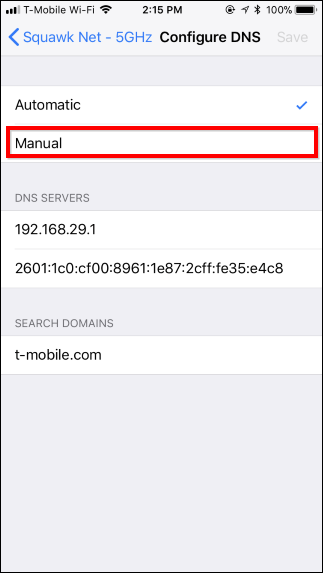
Tap “Manual” and remove any DNS server addresses you don’t want to use from the list by tapping the red minus sign. Tap the green plus sign and type any DNS server addresses you want to use. You can enter both IPv4 and IPv6 addresses in this list. Tap “Save” when you’re done.
You can always tap “Automatic” here again to restore the default DNS server settings for the network.
Android
Android allows you to change your DNS server, but not system-wide. Each individual Wi-FI network you connect to has its own settings. If you want to use the same DNS server everywhere, you’ll have to change it for each Wi-Fi network you connect to.
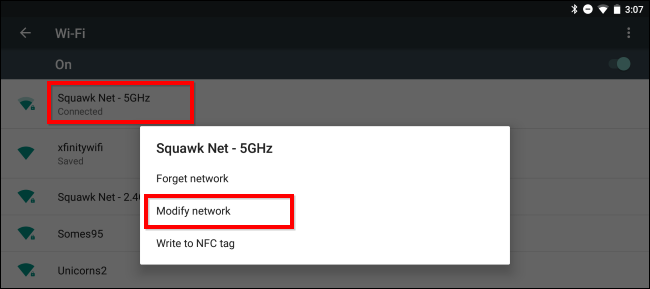
To change your DNS server, head to Settings > Wi-Fi, long-press the network you’re connected to, and tap “Modify Network”.
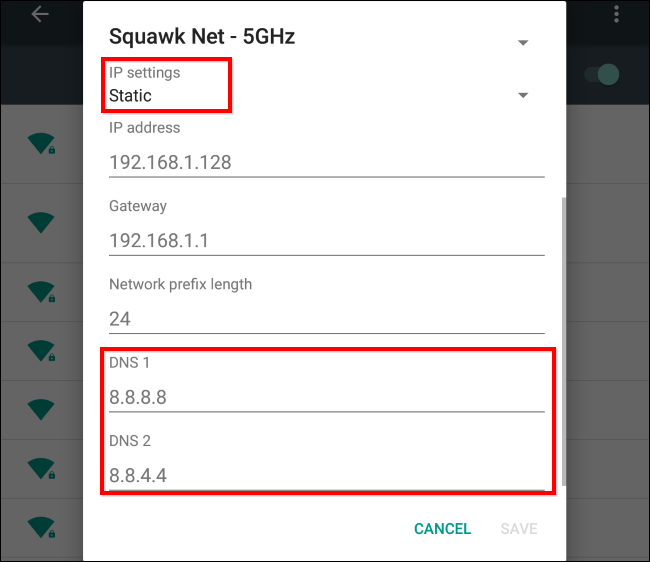
To change DNS settings, tap the “IP settings” box and change it to “Static” instead of the default DHCP. Depending on your device, you may need to check an “Advanced” box to see this setting.
Leave the IP server setting here alone, as this is automatically acquired from the DHCP server. Enter your preferred primary and secondary DNS servers in the “DNS 1” and “DNS 2” settings and then save your settings.
Chromebook
This option is built into Chrome OS, too. But, as on iPhones, iPads, and Android devices, you can only change the DNS server for one network at a time. You’ll have to change it for each Wi-Fi network you connect to if you want to use it everywhere.
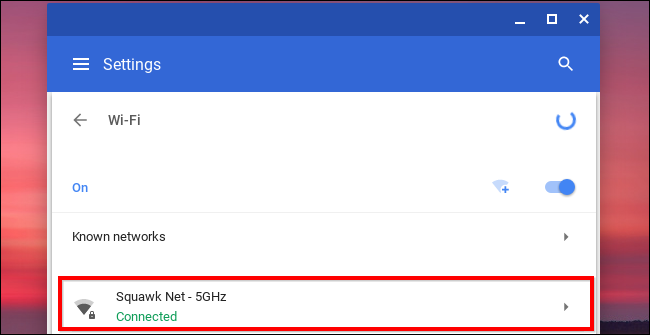
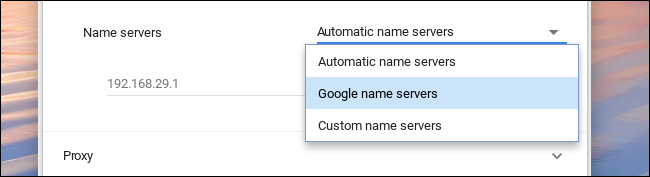
On a Chromebook, head to Settings > Wi-Fi and click the name of the Wi-Fi network you’re connected to.
Click the “Network” header to expand it and locate the “Name servers” section. Click the “Automatic name servers” box and set it to either “Google name servers”
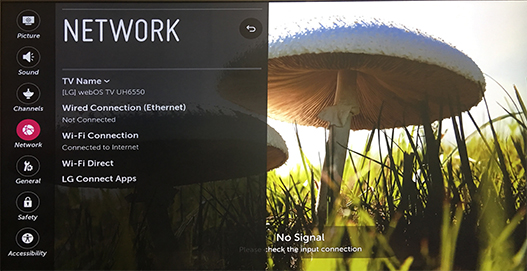
LG Smart TV
On your LG Smart TV, DNS can be changed on Network settings.
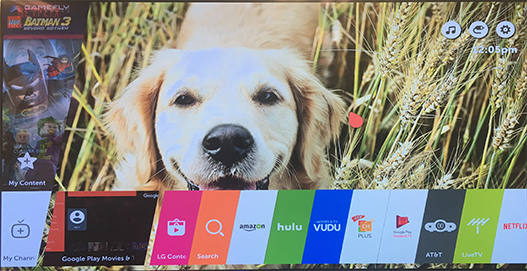
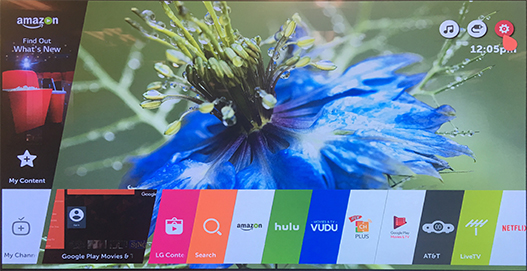
Press the Home/Smart button on your remote to bring up your launcher bar.
Click the Settings icon in the top-right.
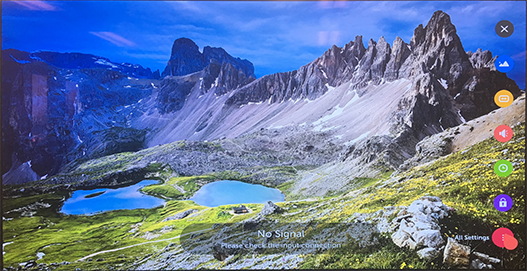
Choose the All Settings option at the bottom.
Choose the Network menu from the left.
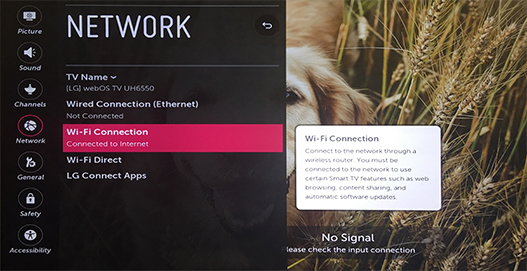
Choose Wi-Fi Connection.
Note: In this menu, your network should have a checkmark
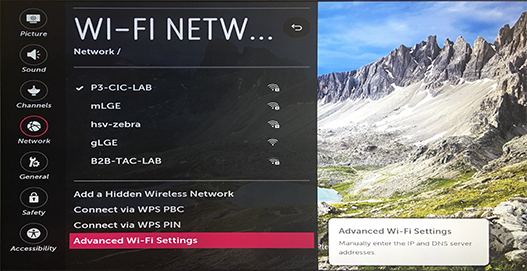
Choose Advanced Wi-Fi Settings at the bottom
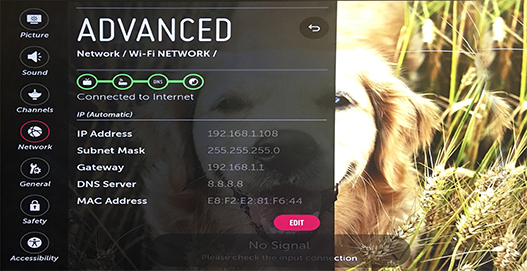
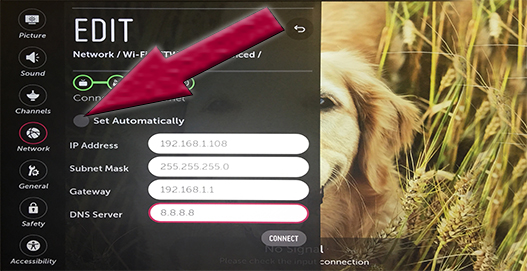
Click the Edit button.
Uncheck the box labelled Set Automatically.
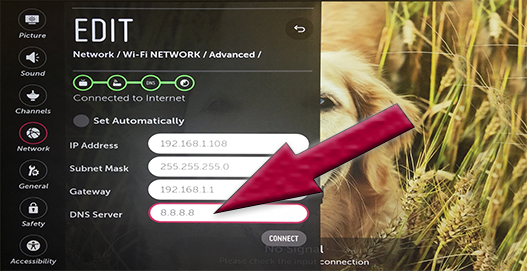
Click in the box labelled DNS Server and enter 8.8.8.8, then click Connect.